Instead of considering this a late recipe post it can be considered an early one for next weekend. I've been meaning to make biscuits for a while and considering they're so simple and quick to do I just haven't found the time. With the clocks going back yesterday I felt a bit more invigorated and made the effort to bake.
Raisin, Cinnamon & Oat Biscuits Ingredients 24 biscuits Gas Mark 5 (190°C/375°F) Preparation time: 20 minutes, baking: 10-15 minutes
100g unsalted butter - at room temperature
200g light brown sugar
1tsp golden syrup
1 medium egg
1 tsp vanilla extract
125 g self raising white flour
125 g medium oatmeal
100 g raisins
4tsp ground cinnamon - this is quite a bit, I love cinnamon, for a more subtle approach just go for 3tsp
As usual using the database on MFP I've worked out the nutritional value per biscuit:
117 Calories 18g Carbohydrates 4g Fat 2g Saturated Fat 1g Protein
Now only a few simple steps.
Start by pre-heating the oven and lining some baking sheets, the mix is quick and nothing needs to stand so it doesn't take long from start to finish.
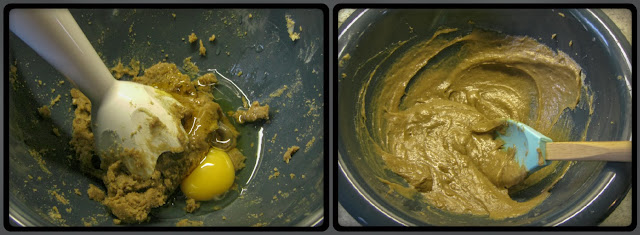
Use a hand blender to mix the sugar with the room temperature butter, it will most likely get stuck in the blades a bit so I used a silicone spoon to pull blobs out intermittently. In the end I finished off the mix with just the spoon when it became too thick to use the hand blender.
 |
| Here goes |
 |
| Hard to soft |
 |
| Dry, wet, balls! |
 |
| To the left balls, to the right flattened balls |
Now all that is left to do is put them in the pre-heated oven for 10-15 minutes. They should be golden brown when you pull them out, although that isn't too different from when they go in. The thing to pay attention to is how they feel, use an egg slice/spatula to life one from the tray, it should still be soft but not completely floppy, they'll harden once cool. Pull them out and leave them to cool on a wire rack, job done.


Oh WOW! These look so delicious and amazing!! This post has made me want to get cooking in the kitchen, YUM! xx
ReplyDeleteGemma ♥ | Miss Makeup Magpie
They're really worth making as they don't take long, they're perfect at this time of the year too! xx
DeleteI love these))Need to try to cook them too))thanks for recipe))
ReplyDeletexoxo Christy